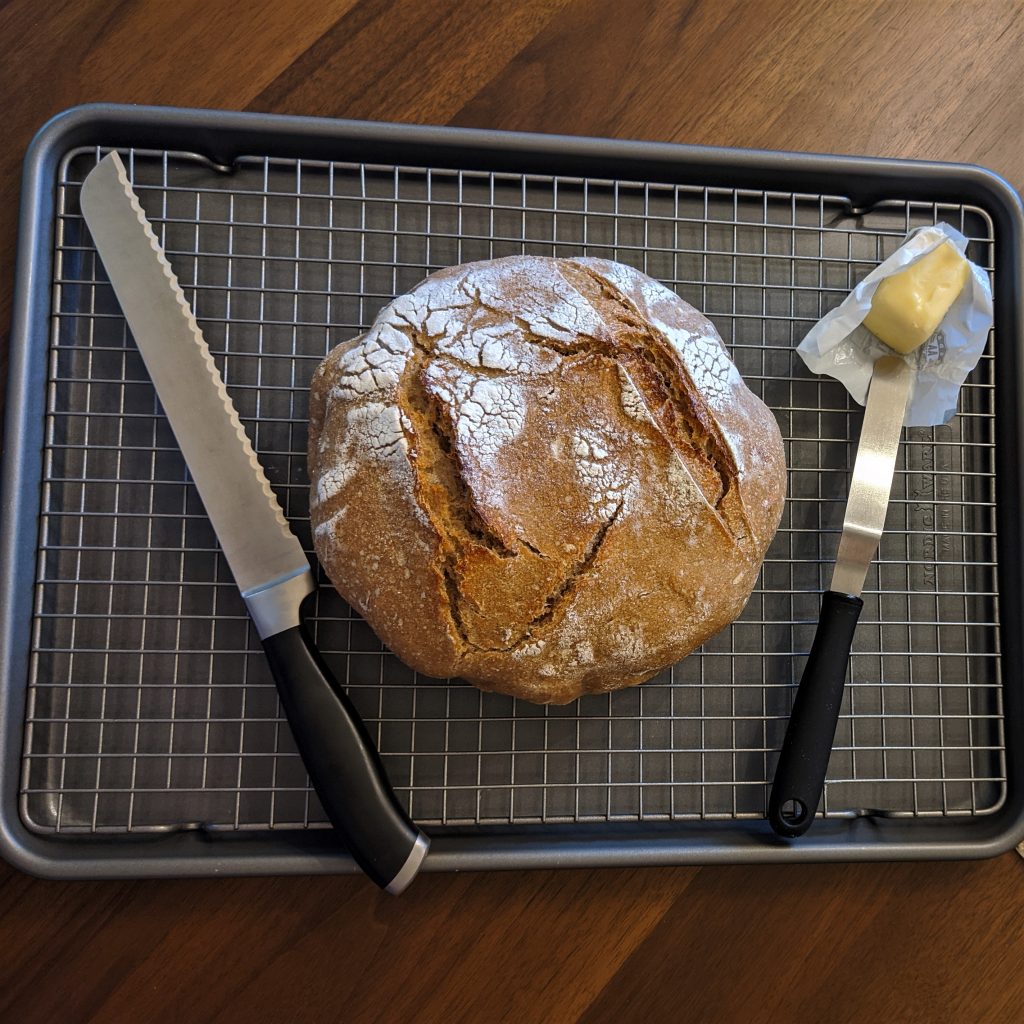
Is there anything better than a warm loaf of bread? I know you can see the picture but the smell and the taste… Oh My God. Not only does it taste great, but the sense of accomplishment that I felt after I made it is another reason to make this amazing bread. This has been 8 days in the making. Hold on! We may have a shortcut for you if you don’t want to wait that long to taste the goodness of this bread. It will still take you 9 to 12 hours. But believe me all this time is worth it!
Lets cook together and have some fun! 🙂
Ingredients
- 300 g White Flour
- 200 g Whole Wheat flour
- 400 g Water
- 75 g Starter
- 10 g Salt
Making the Starter
Let’s start with what we can do to reduce your bread making time to 1 day. If you know a bakery that makes sourdough, they may give or sell you some starter. I chose to make my own starter. This process takes at least 7 days. It does not require much work, just a lot of waiting.
I started by weighing empty jar and writing the weight on the bottom of the jar. I put 150 g of water and 150 of general purpose flour in the jar. After 24 hours, I discarded some of the starter and left 100 grams in the jar. This is why I weighed the jar the previous day. When I weighed what is left in the jar the weight should total 100 g plus the weight of the jar. After I discarded some starter, I added 100 g of flour and 100 g of water. I repeated the same regiment for the next 7 days. The first few days, I did not see any activity. By day 4, I started seeing a few bubbles. And by day 7 it was doubling in size then deflating before I feed it again the next day. Once your starter starts behaving like that, it is ready.
Tip: If you do not use your starter often you can keep it in the fridge and feed it once per week. The day before you want to use it, remove it from the fridge, feed it and leave it at room temperature.
Preparing the bread
I Started by feeding my starter the night before I baked and left it at room temperature till morning. The next morning I mixed the white and whole wheat flour and the water into a bowl. Once all the bread is hydrated, let the mixture rest for 45 minutes. This will allow your dough to go through the process of autolyse. This process will help you develop more gluten further into the process.
I then added 75 g of my starter and the 10 g of salt. I folded everything together until the starter incorporated into the dough. I then let the dough rest for 30 minutes.
After 30 minutes, I placed the dough on a large work floured surface. I grabbed the side of the dough and lifted it up. I made sure that I grab enough of the dough so that the whole dough got pulled and stretched. Then I folded the excess of the stretched dough back on to the middle of the bowl. I then rotated the bowl a 1/4 of a turn and stretched and folded again. I repeated the same process until I went all the way around the bowl. I let the dough rest for another 30 min. and repeated the process of stretching and folding and resting 30 minutes another 4 times. By the end of this process my dough became smooth and did not stick to the side of the bowl.
Next step is to let my dough do its bulk rise. I let the dough rest 5 hours (recommended to let it rest for 4 to 6 hours at room temperature or overnight in the fridge). Once the bulk rise is done, my dough had increased in size and was showing some bubbles near the surface.
Tip: if you are making more than one loaf, this is where you would divide the dough into the final sizes.
I then pre-shaped my dough. I did so by stretching the dough to about 50 cm or 20 inches on a well floured surface. I then grabbed the side of the top quarter of the dough, stretched it out perpendicular to the dough then folded it back towards the dough. I repeated the process along the dough. I then rolled the dough following its long axis, making sure the outside of the rolled dough stays taut. I then covered it and let it rest for 30 minutes.
The final shaping of the dough starts the same as the pre-shaping. Stretching the sides and tucking them in, then rolling the dough and making sure the outside is taut. I needed to let the dough in a banneton basket, but I did not have one, so I made my own. I lined my salad strainer with a piece of cotton cloth and floured it generously. I then placed the dough in my basket. At that point it was late at night and time to sleep so I covered it and placed it in the fridge (recommended 2 to 3 hours rest at room temp).
Once my dough did the final proof, I needed to make sure it was ready to bake. I performed a poke test by poking the top of the dough and observing that it sprung back but not all the way.
I preheated my dutch oven (with its lid) for 30 minutes in a 500 degree Fahrenheit or 260 degree Celsius. I then flipped my dough from the banneton basket onto a very large parchment paper. I then made a 1 cm deep cut along the top of the dough. I used the parchment paper’s excess on the side to lift the dough from the work surface and place it into the dutch oven. I put the lid back on, then placed it on the middle rack of the 500 degree oven for 20 minutes. I then removed the lid from the dutch oven, placed it back into the oven and reduced the temperature to 450 degree Fahrenheit or 230 degree Celsius. When the crust became a deep brown, I turned off the heat, left the oven door cracked open for 20 minutes.
I know what you think the next step should be, break into the bread and devour it. That is not the right thing to do. I left my loaf out to cool for 2 hours before my husband and I demolished 8 days of hard work in 30 min. It was all worth it!
Enjoy! 🙂

Pingback: Sourdough Focaccia – MrsSpatuLama